

Foundations to Flourish: Watercolour
Vol 6: Learn about transparency, opacity, layering and glazing

Hello!
Hey! How are you? I don’t know about you, but now the weather is cooling in the northern hemisphere, I am eager to get creative.
How are you getting on with the watercolour foundations? Feel free to add a comment if you have any successes or face some challenges. This week in Foundations to Flourish, we will be looking into transparency, opacity, layering and glazing using watercolour - I really hope you enjoy these processes.
Resources
You will need:
A6 watercolour paper - hot or cold press
Blue scotch tape or masking tape
Round, flat or filbert brushes
Water
Watercolour paint
Palette
Wooden board
Kitchen roll
Prepare the Paper
Remember to prepare the paper prior to doing the washes and attach your paper to a board. If you are not sure how to do this, click the button to find out.
Transparency, Opacity and Layering
Transparency and Opacity
Watercolour painting is known for its luminosity due to its transparency. You can create washes, glazes and layered effects, which helps to create light and shade.
Let’s have a little recap on what transparency and opacity mean:
Paint pigments are either transparent, semi-transparent or opaque. This is usually written on the container or stated on the online shop. The transparent pigment can be made opaque by layering until the desired depth of colour is achieved.
Transparent paint allows light to pass through it, which make the underlying layers or surface visible through the colour.
The opposite to transparent is opaque. When paint is opaque, it can block or reflect light. This can stop underlying colours being visible through paint layered on top.
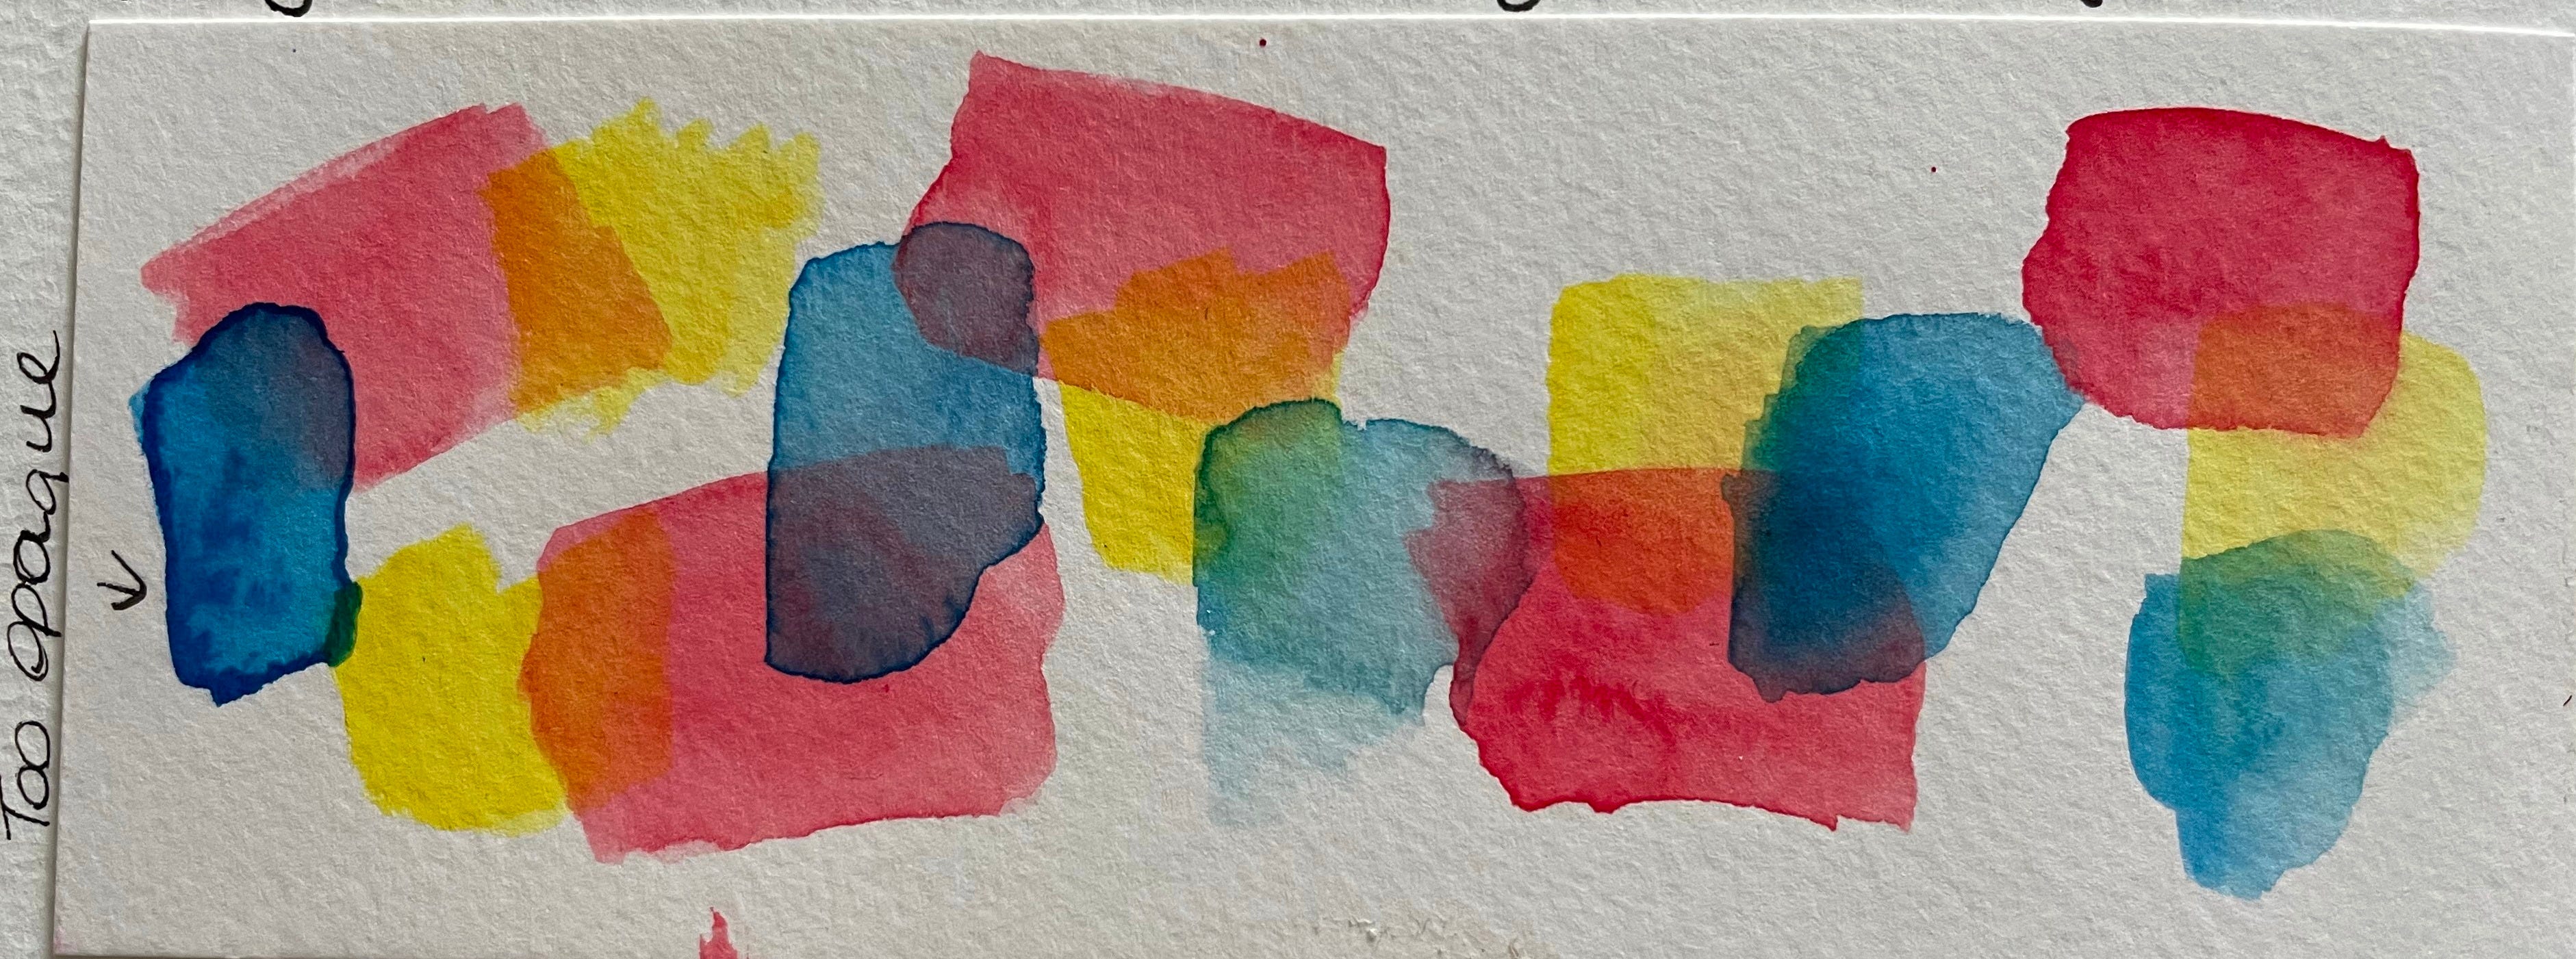
The transparency of the paint in watercolour is controlled by amount of water added to it. Paint that comes straight out of a watercolour tube will be opaque whereas watercolour pans need water added to it in order for it to be useable so they are not as opaque. The more water you add to the paint, the more transparent the paint will become.
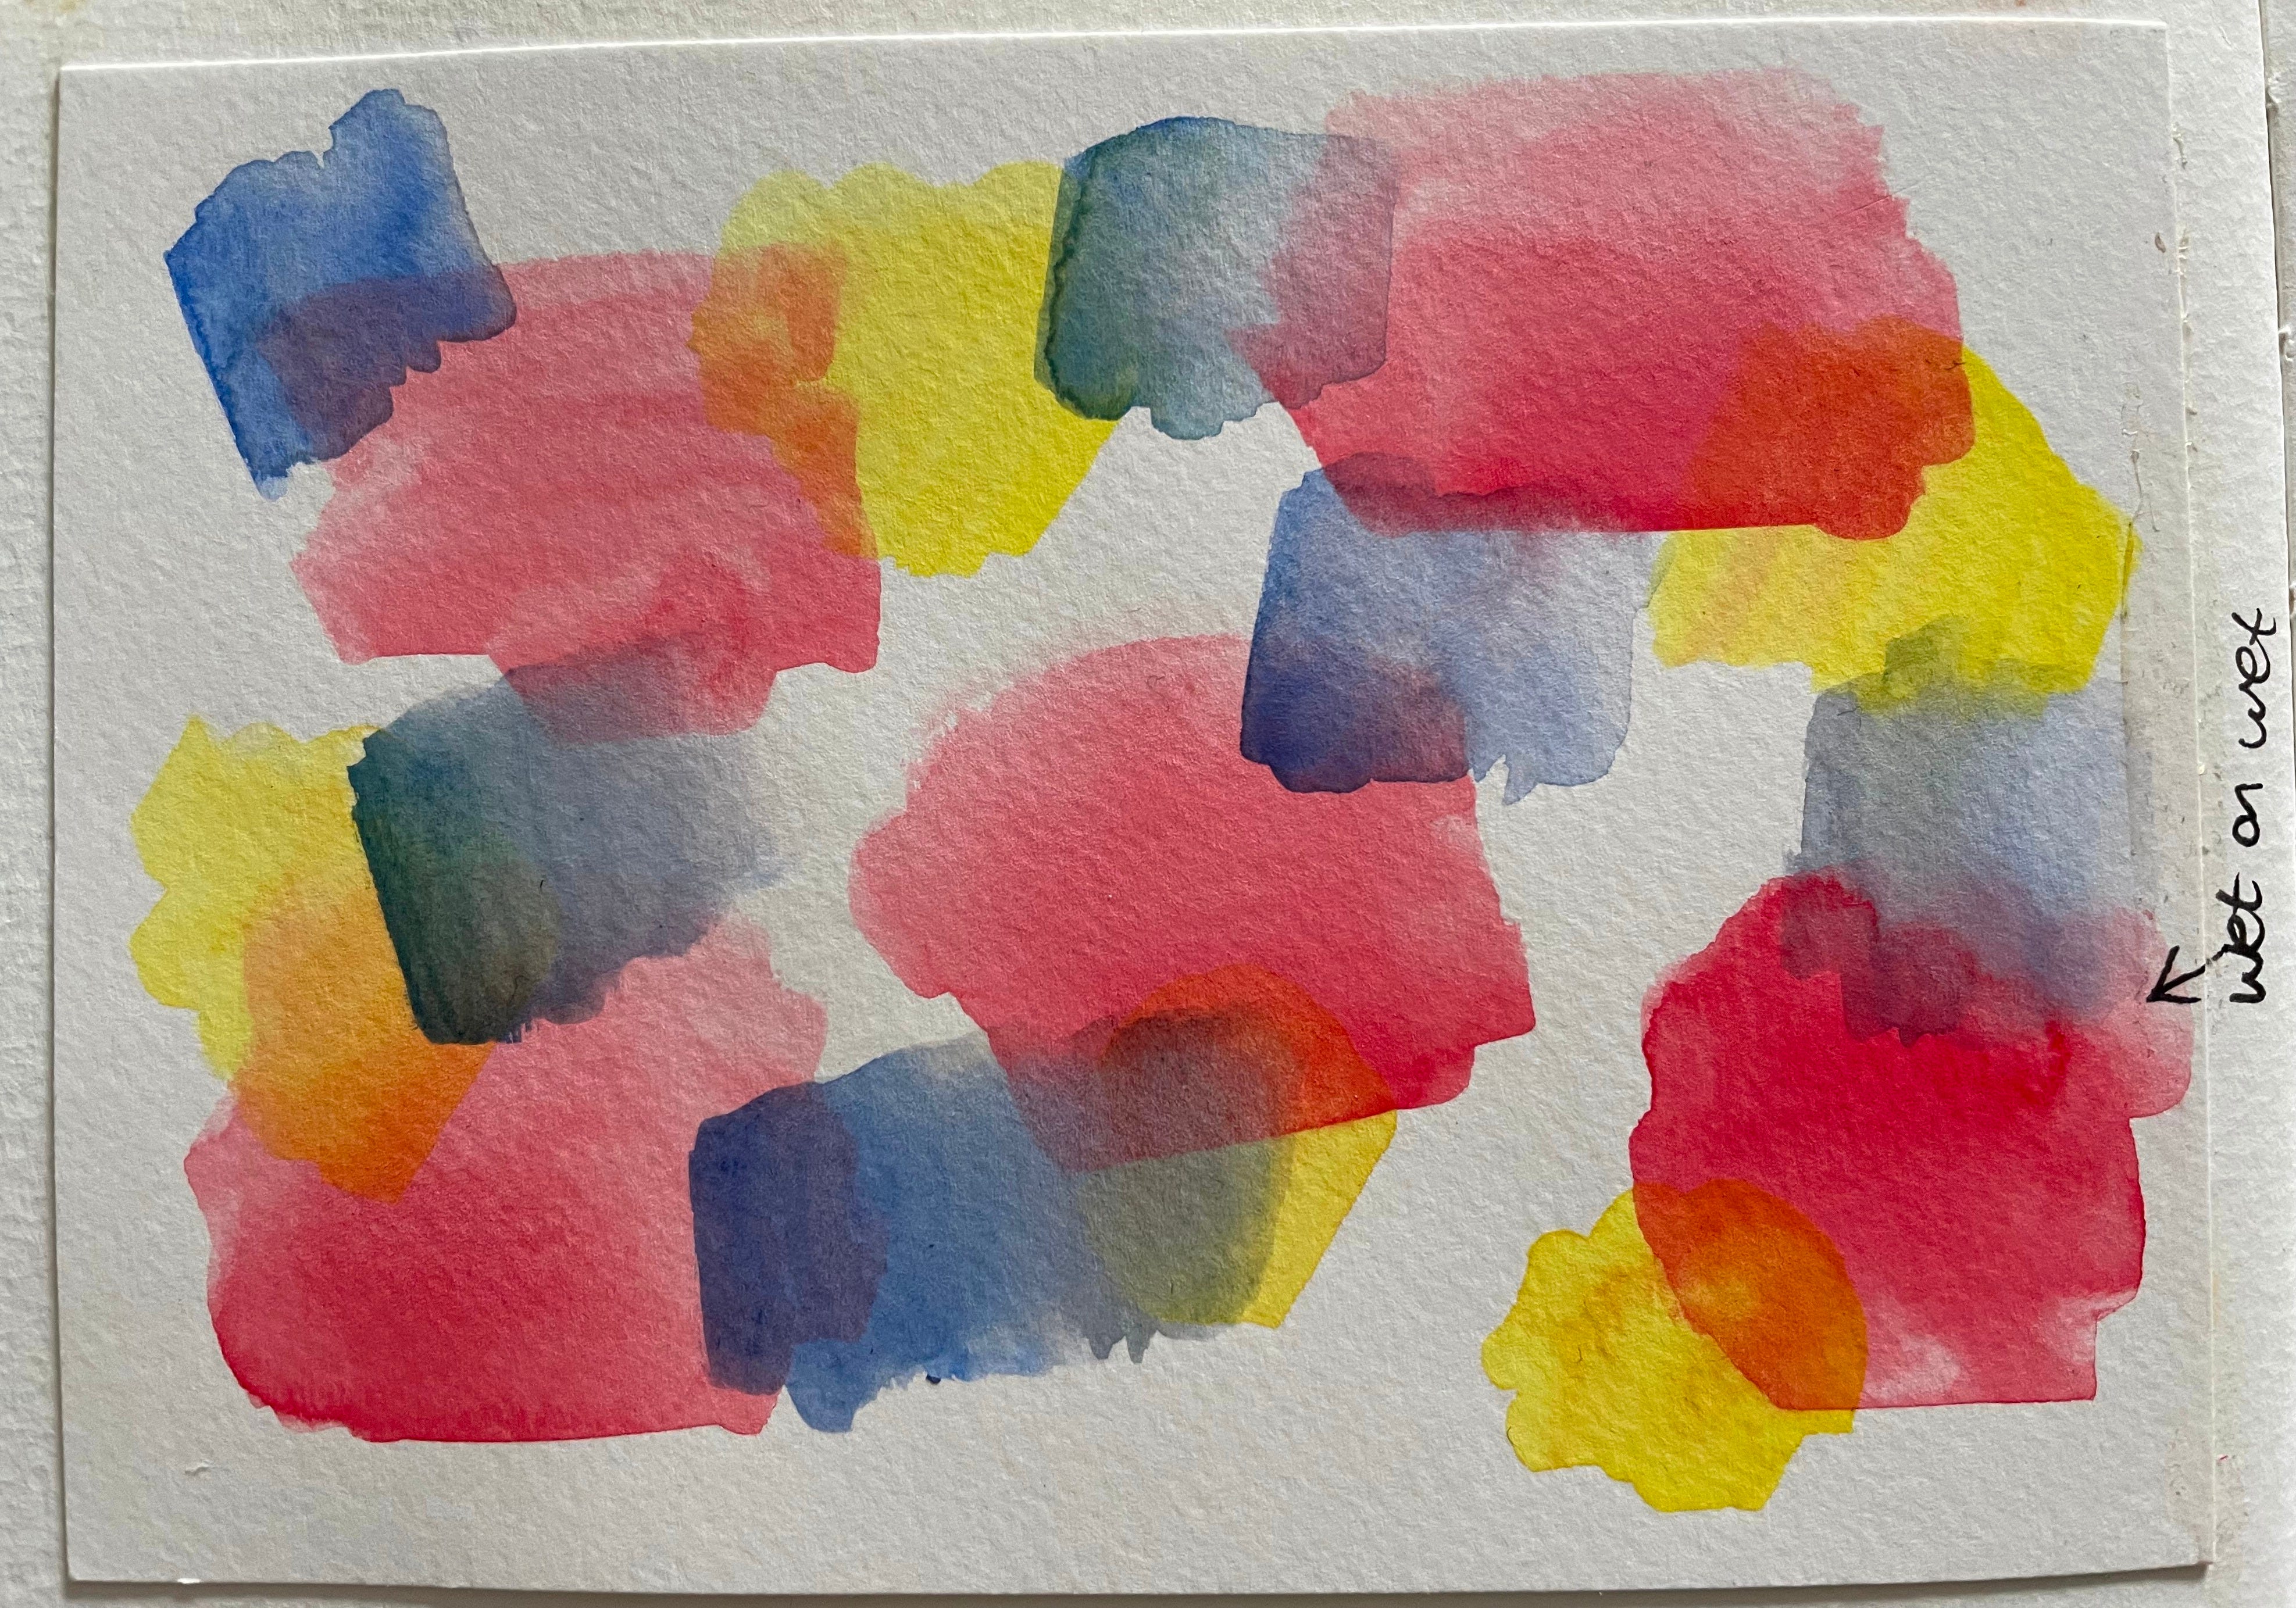
Adding more water and painting in a wet-on-wet technique will produce soft, transparent effects that blend into one another. This can create beautiful results with skies and landscape or dreamy, abstract compositions. Using less water with the paint and applying it onto dry watercolour (wet-on-dry) will give control and precision creating crisp, defined lines.
Layering
It is important to plan the white areas before placing down any paint, as anything on the paper that is meant to be white, needs to be left alone. The white paper will be the white areas as white watercolour paint is never truly white. White paper is much more luminous.
When applying the paint, you will work from light to dark. The light and transparent watercolour paint will be applied in layers to create different effects. By slowly layering the colours, you build up the values, finally adding the darkest details on top. It is this layering of transparencies that gives watercolour painting that feeling of depth and luminosity.
When layering, it is easy to add more pigment or paint, but very difficult to take away what has been painted - so planning is key. If you want striking depth, lay down a layer, let it dry, then lay the next, and repeat until the colour and depth is right.
Glazing
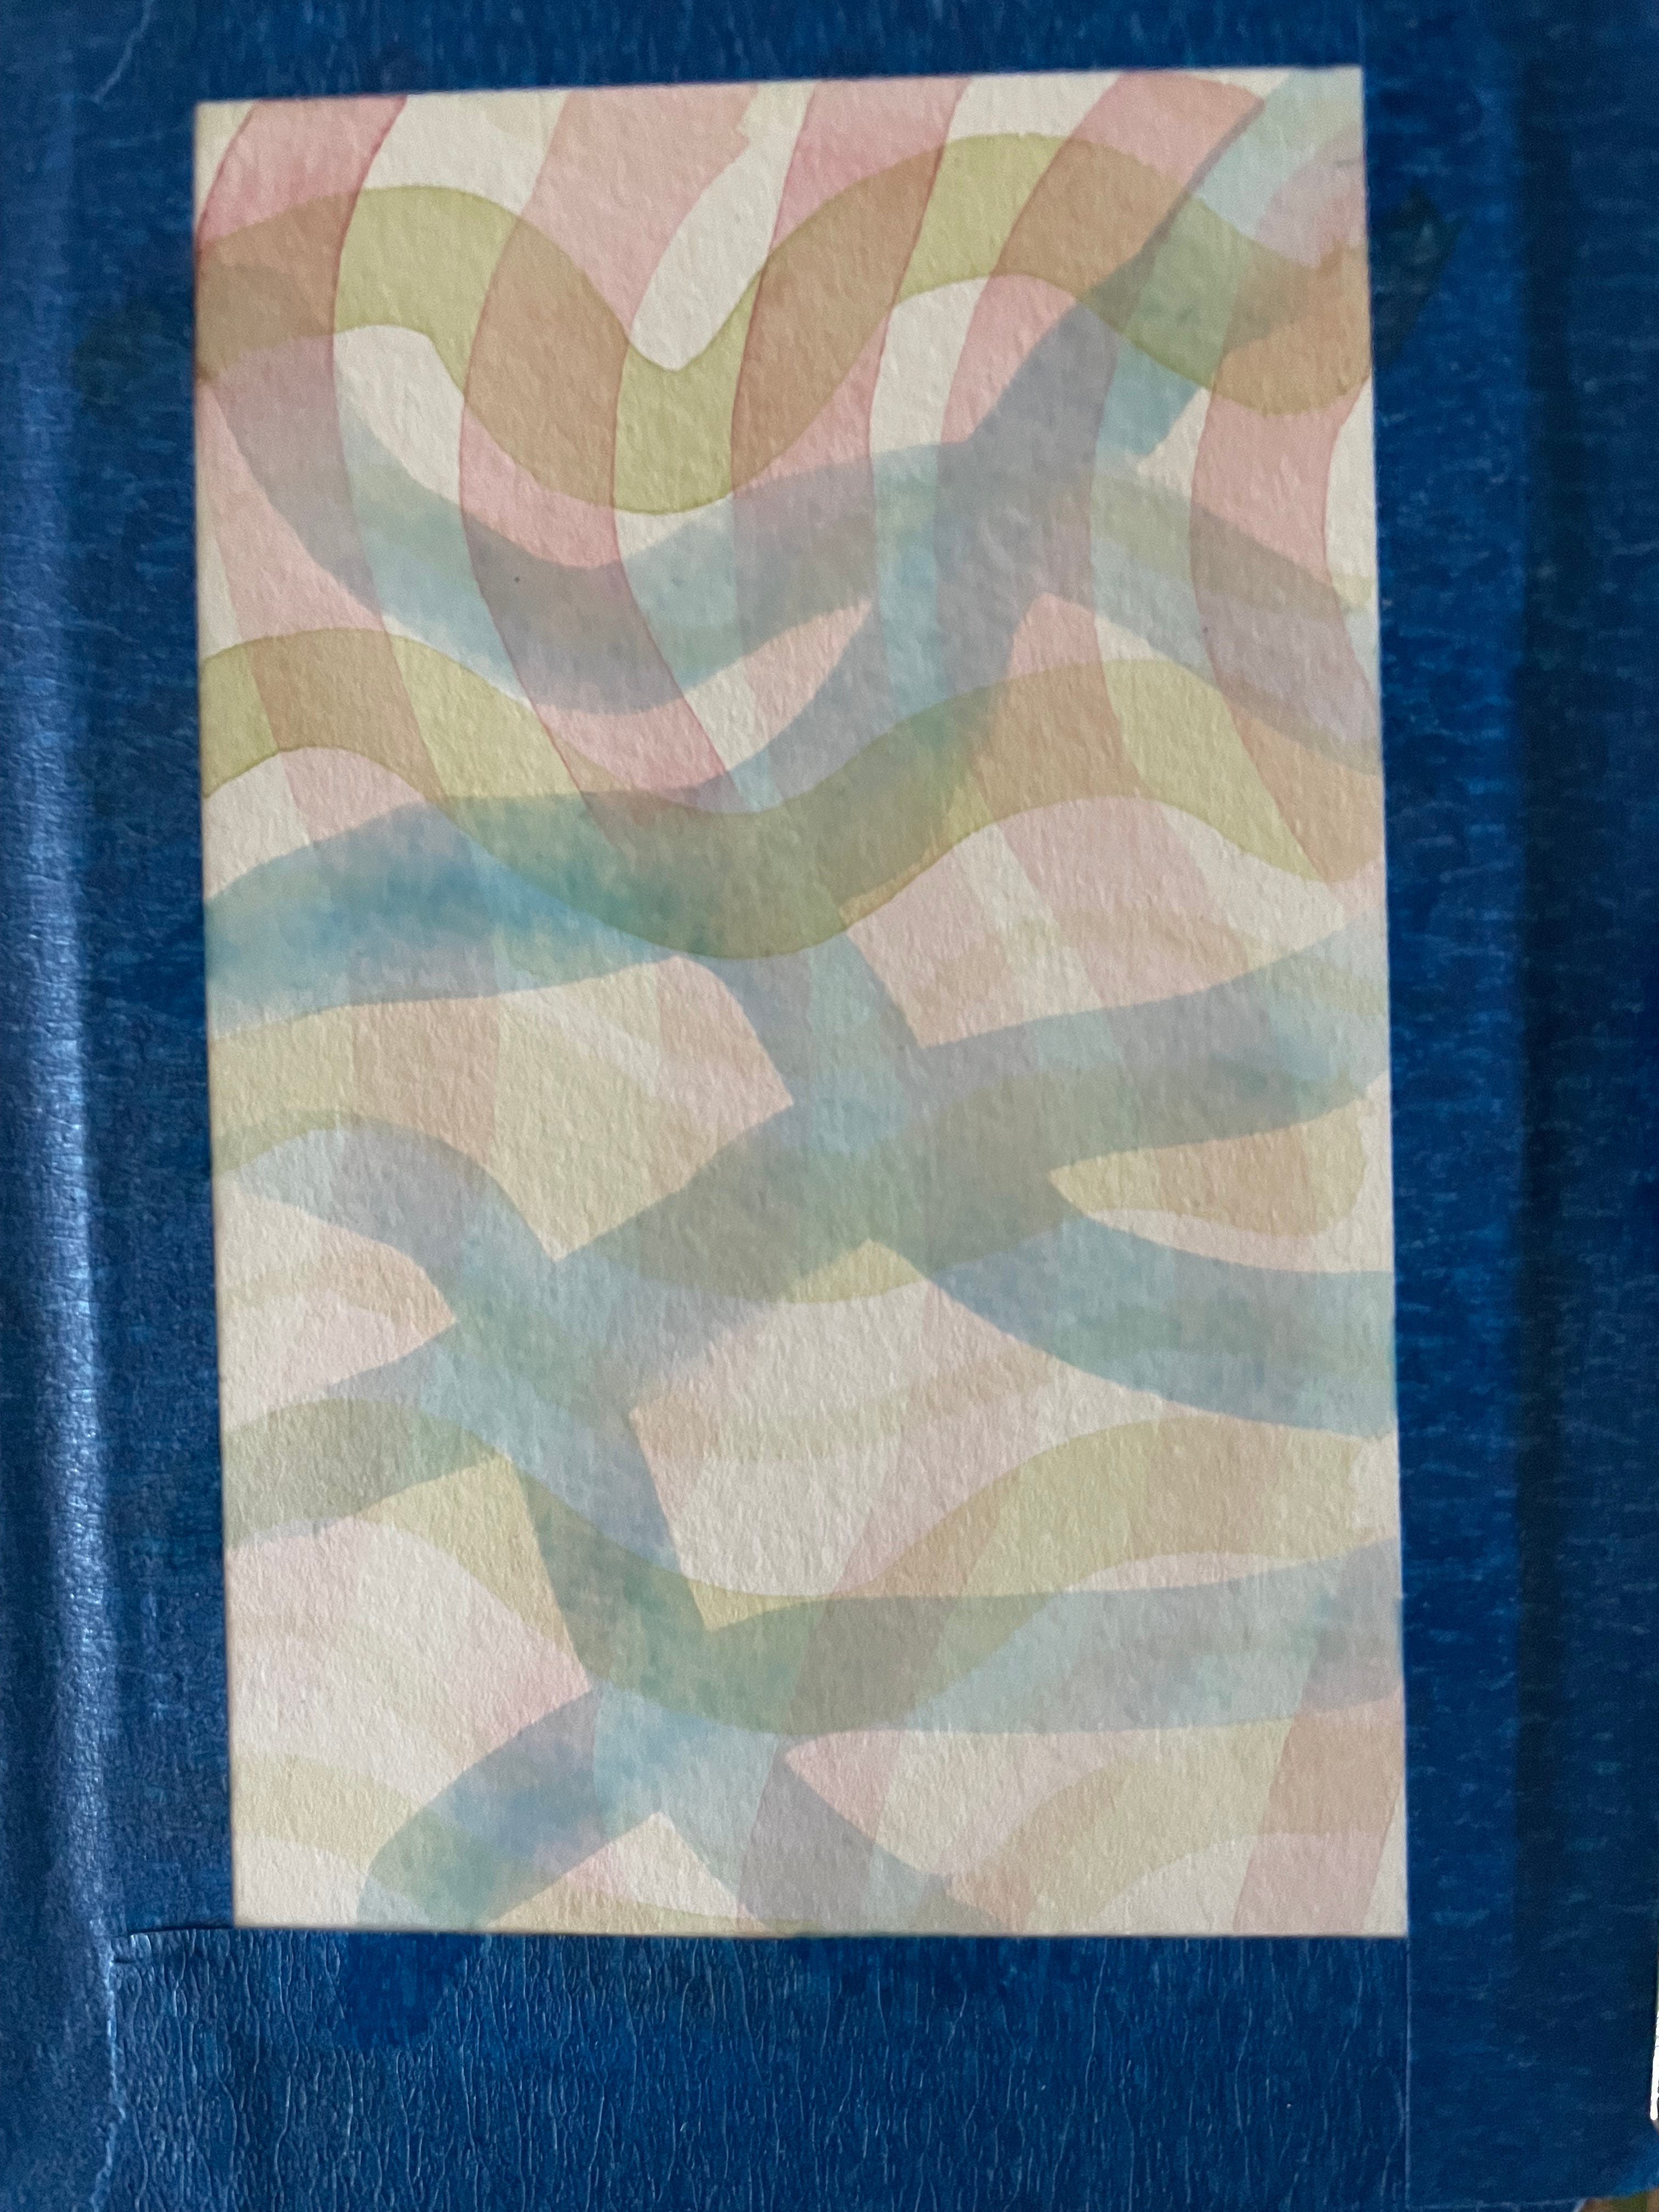
Layering paint is called glazing, which is done in a wet-on-dry method. By using diluted paint, you can apply a base layer onto paper, then gradually build up layers of colour. However, it’s essential to let each layer dry completely before applying the subsequent glazing layers. As the paint builds up, new colours will appear as the transparent layers show through each other. Glazing lets you control the values of the paint as you lay it down. It’s useful for shading, darkening, deepening the hue, adjusting the tones gradually, enhance form and volume, mixing and building richness of colour on the paper, and creating atmospheric effects.
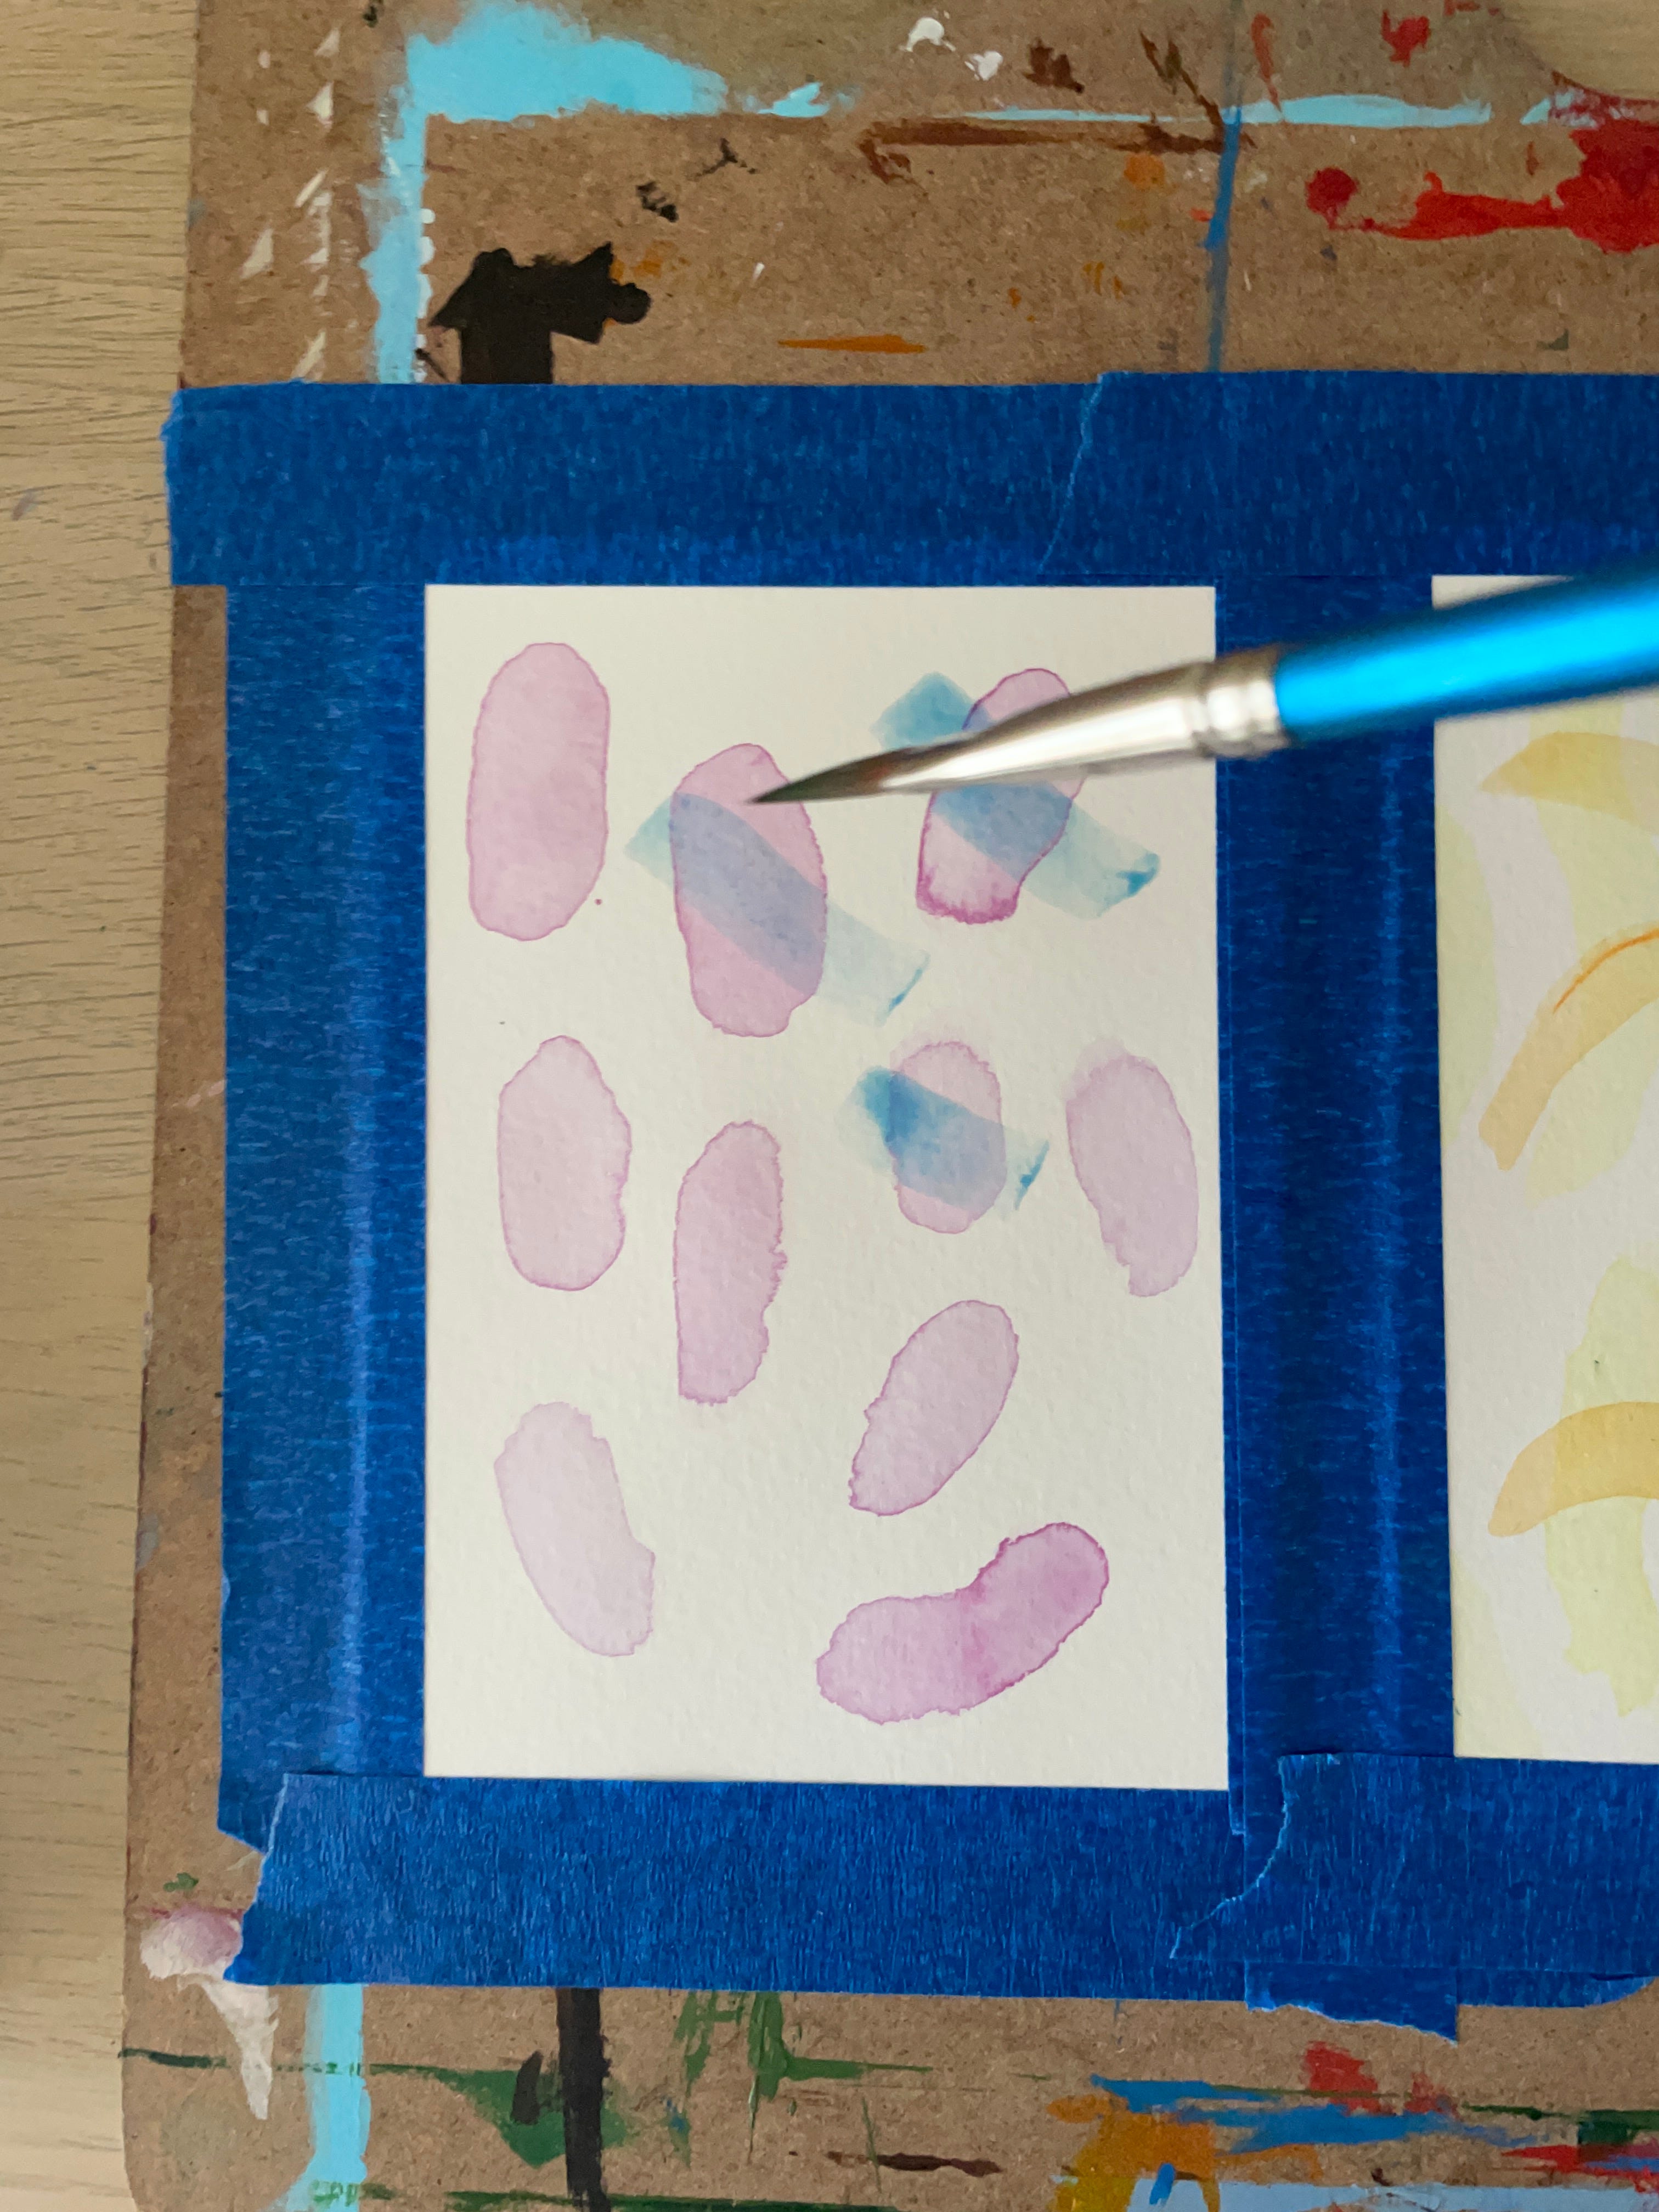
How to practise glazing
1: Stretch your paper and allow it to dry.
2: Mix a handful of colours on your palette - 80% water and 20% pigment.
3: Start with the lightest layers, create some brush marks on your paper and leave to dry.

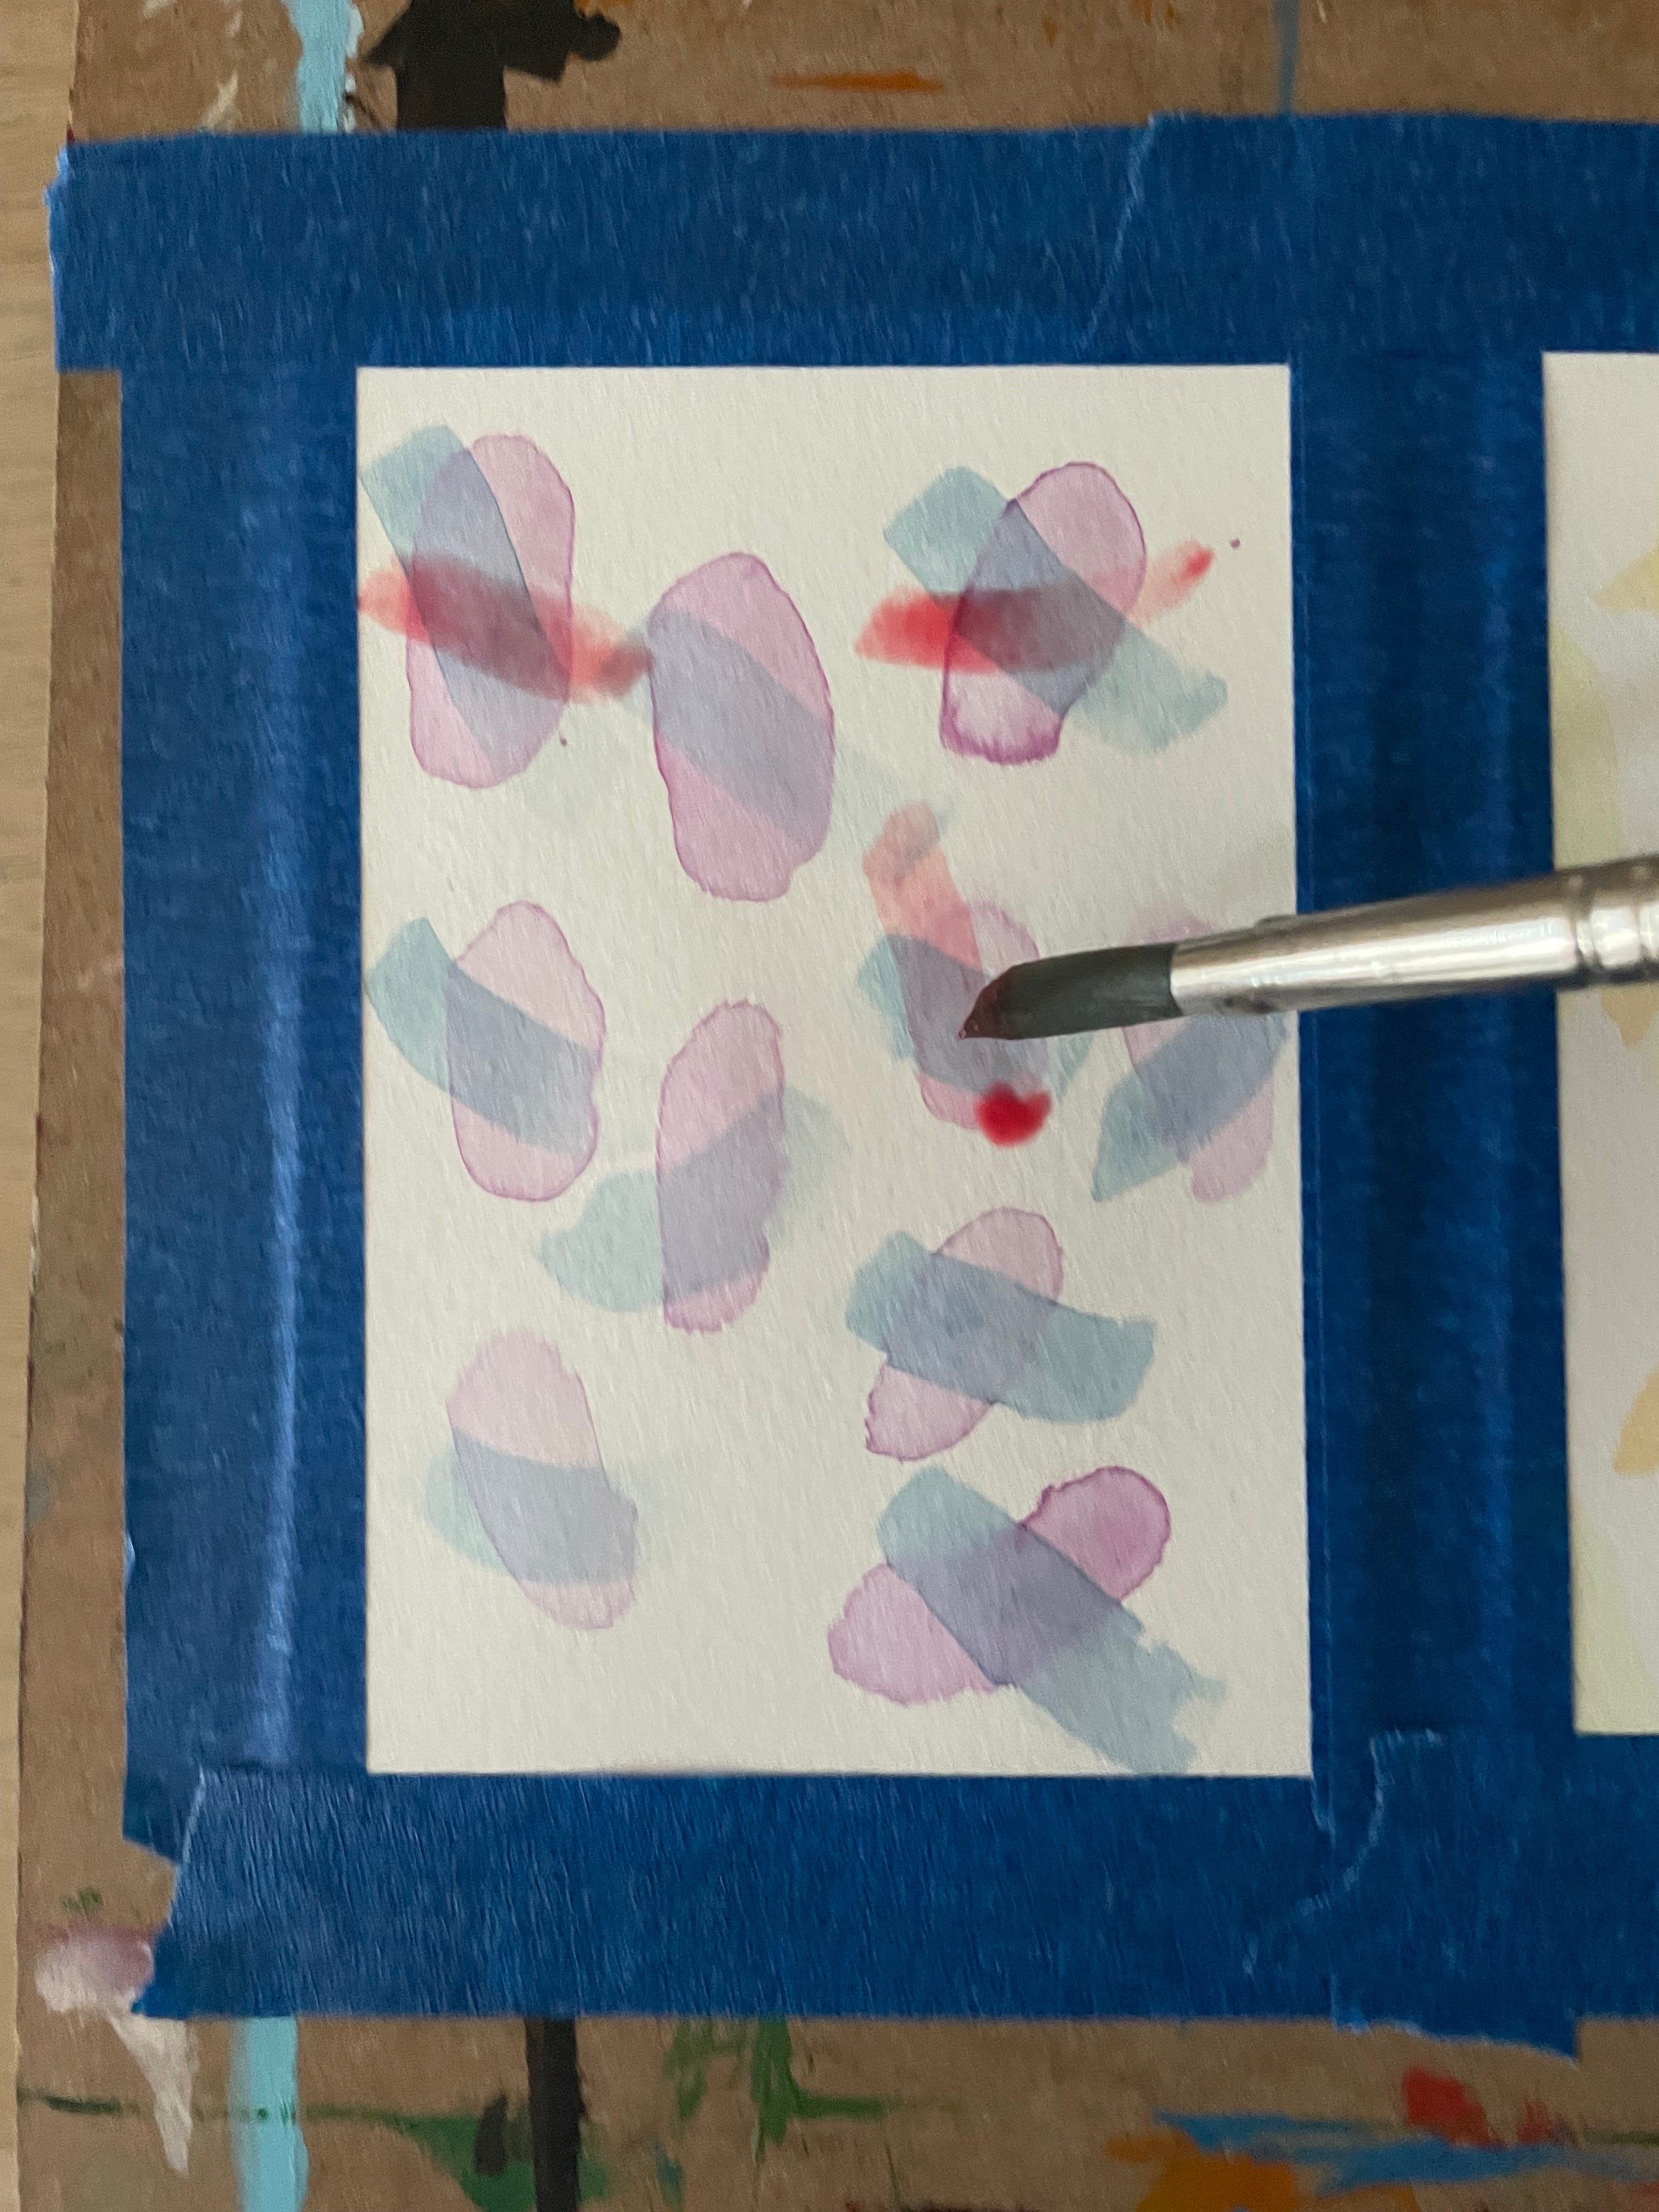
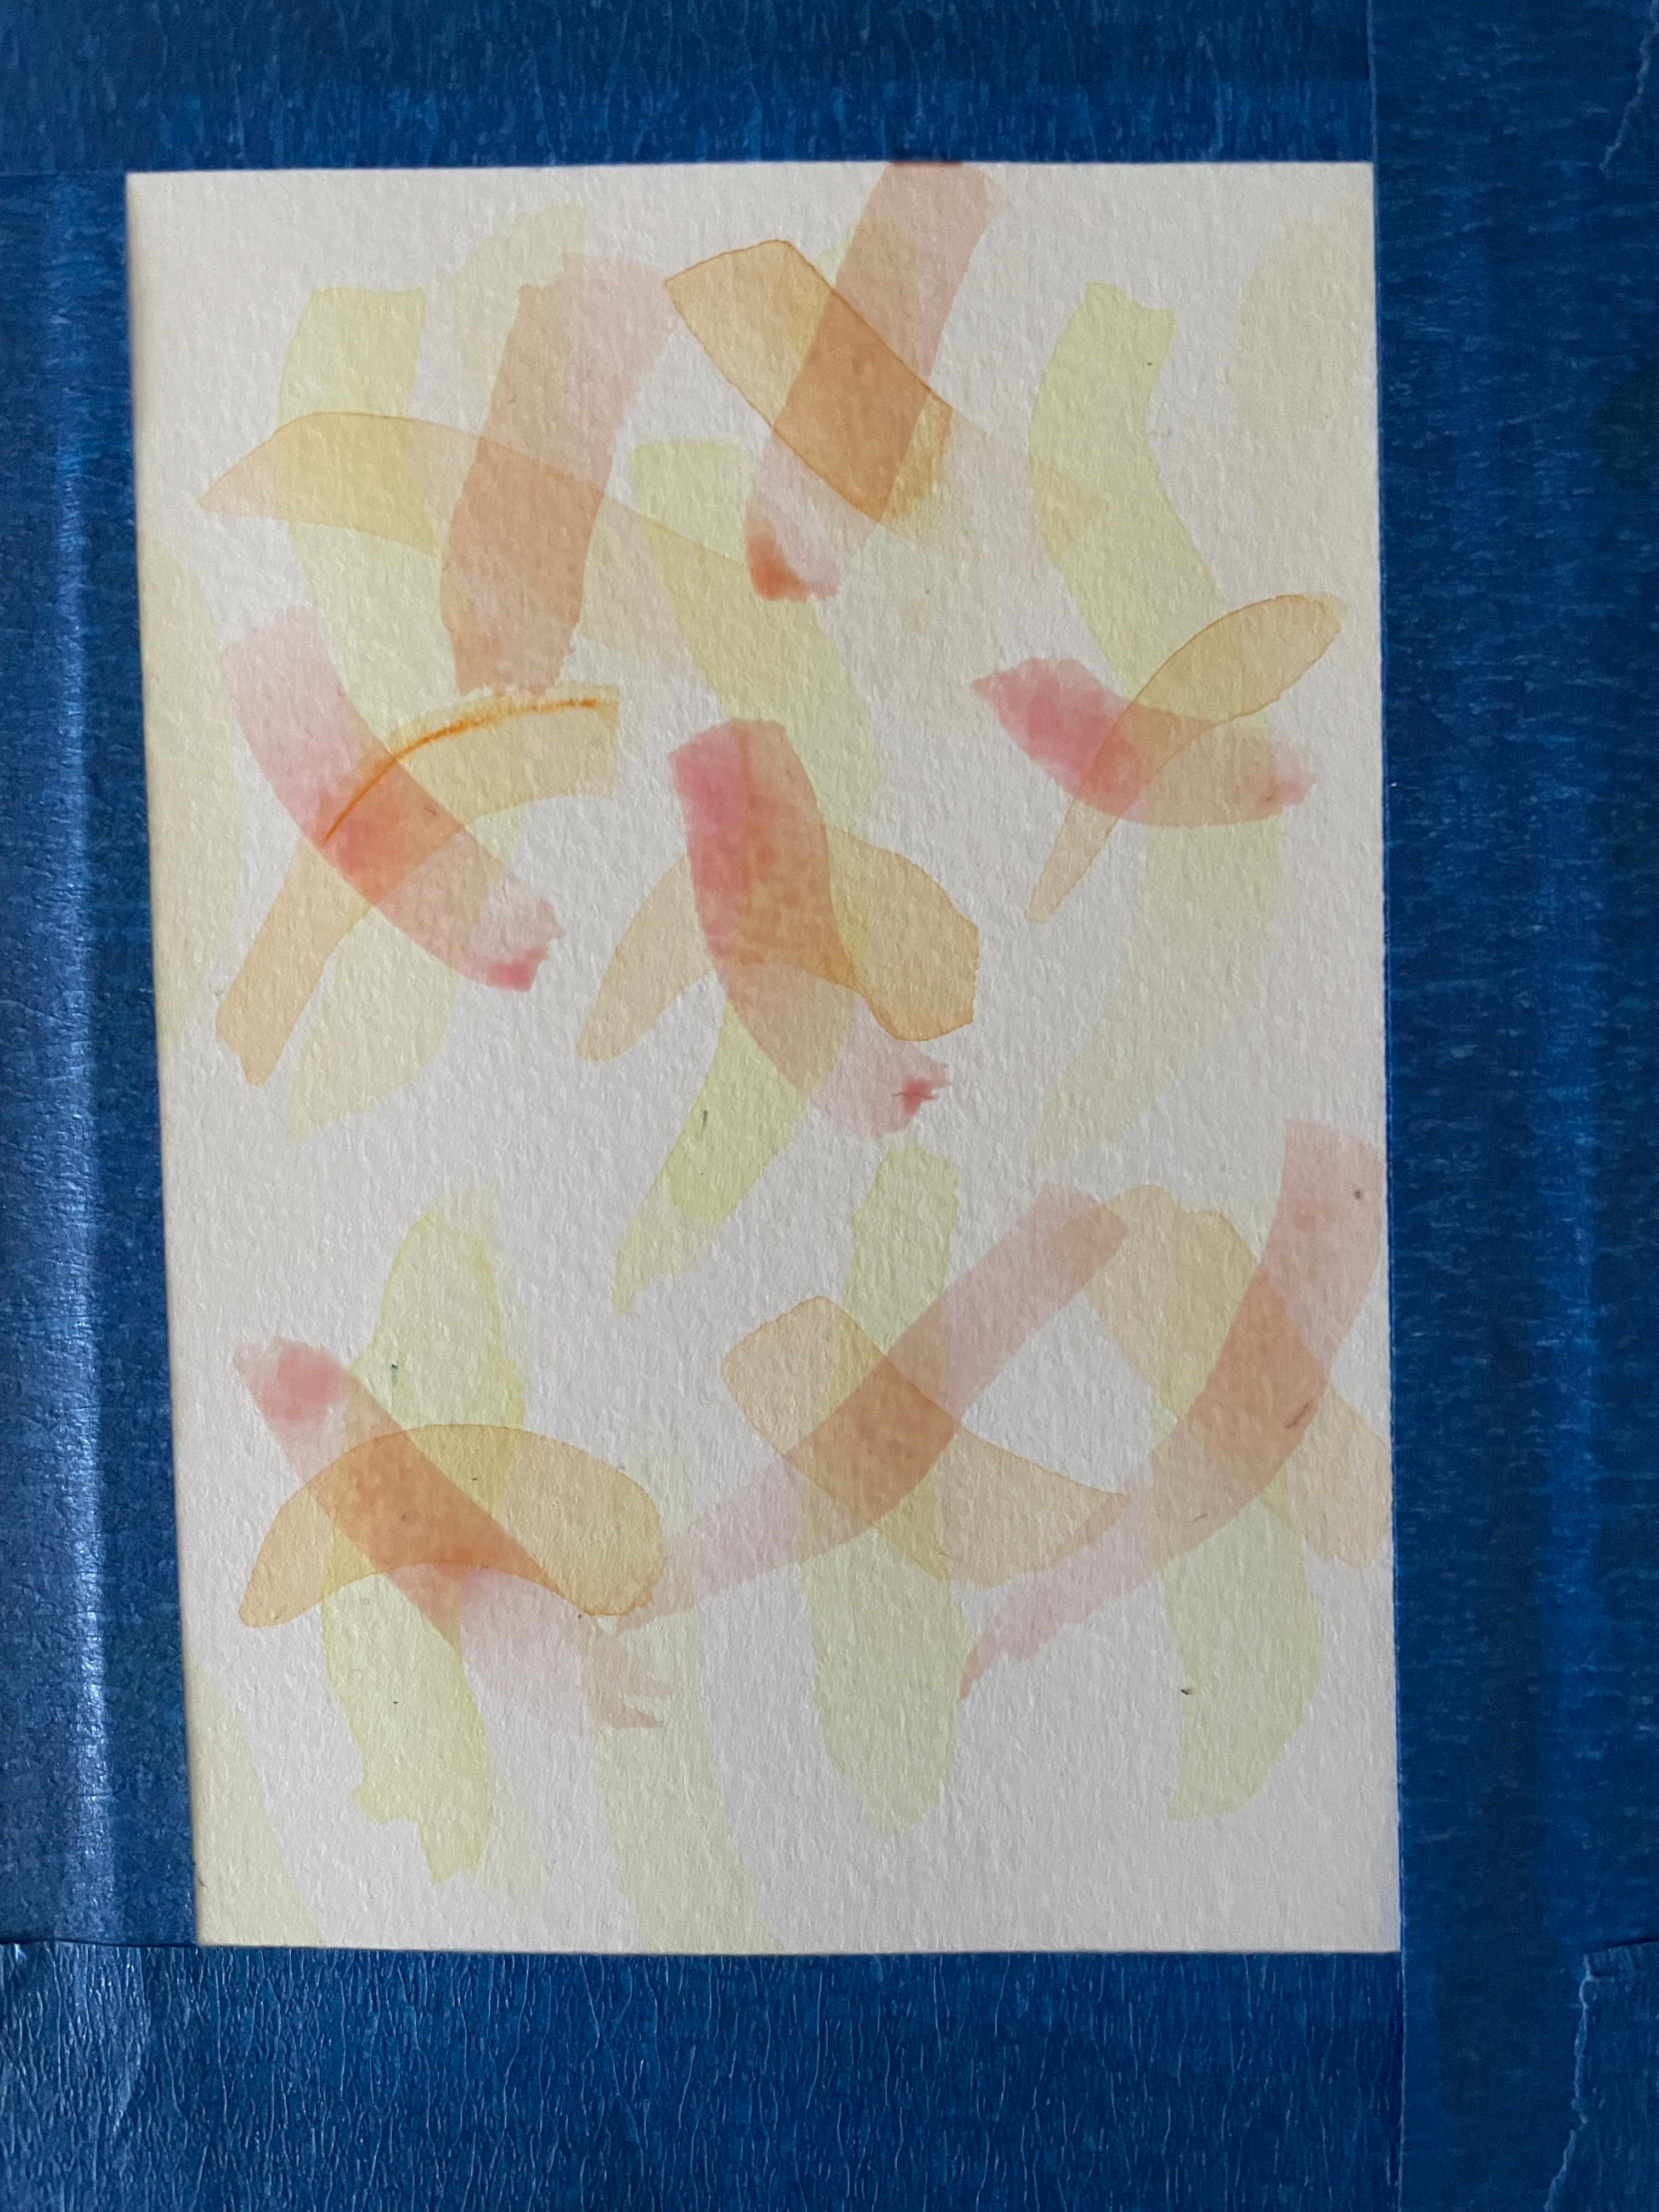
4: Using a different colour, build the next layer with another colour, making sure you overlap the previous brush marks. Allow to dry. You should start to notice crisp edges to the marks.
5: Add the next layer and allow to dry. Repeat until you are happy with the experiment.
Tips and Tricks
Make sure your layer is fully dry before adding the next layer. If the brush marks are still wet, the new layer of paint will bloom which stops the crisp edges being formed.
Double check your mix is dilute and transparent before applying the paint.
Observe how the colour changes when it is layered over another colour compared to when it is placed on plain white paper.
Think about the speed of the stroke, the amount of water used in the mix, the length of time to dry and how different colours give varying effects.
Evaluate
It’s time to evaluate what worked and what didn’t work well. As with anything, evaluating your practice will help you improve your skills and technique.
What worked well?
What would you keep doing the same?
What would you improve?
What went wrong with your glazing and what caused this issue?
Did any of it bloom due to the layers not being fully dry?
What did you notice about the hue and value changes as you layered the paint?
Which paint pigments are transparent, semi-transparent or opaque? Did this effect your glazing or the amount of water needed?
What would you change to improve your glazing?
I’m already looking forward to seeing where we head next with Foundations to Flourish. I’ll see you soon for the next part where we will begin to develop your skills further with watercolour.
In the meantime, please do let me know how you’re getting on – I can’t tell you how happy it makes me when a little art-related comment pops up on my phone. It means I get to talk about what I love most – art! 😊
Enjoy creating,

